8-minute read
A clean bike is a happy bike! This is something we’ve probably all been told before, but after a long ride, it’s usually the last thing we want to do!
In this blog, our cycling tour guide and expert bike mechanic Tom will give you his top tips for how to make cleaning your bike as quick, easy, and cheap as possible. Following his advice will ensure that each time you head out for a ride, your bike’s running sweet and smooth! Over to you Tom …
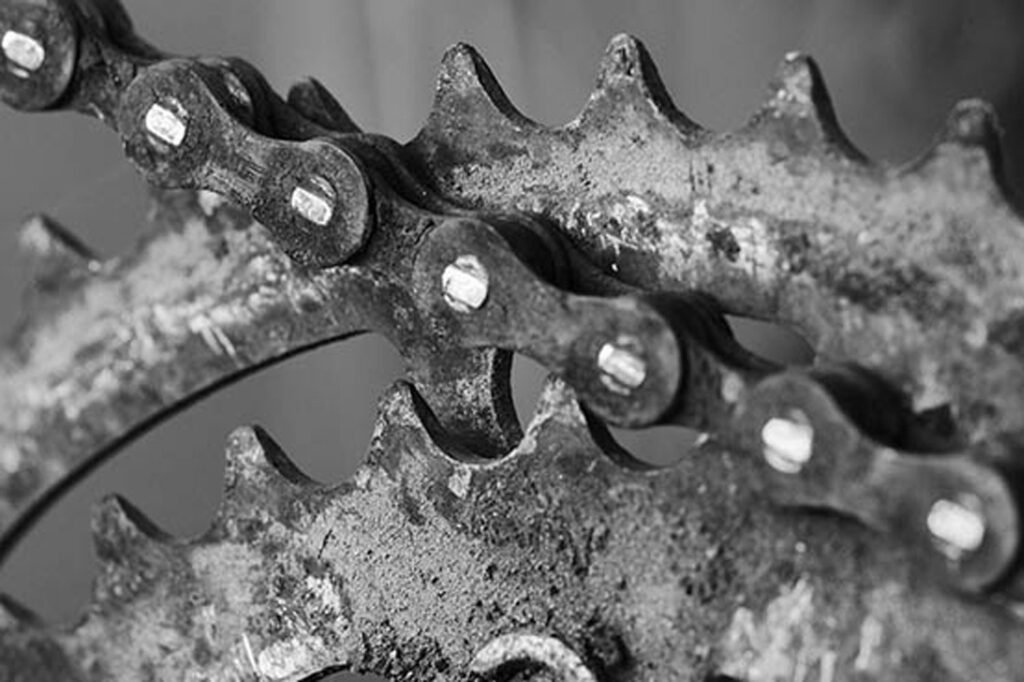
Before I give you my best bike cleaning tips, let’s just cover the WHY. “Does it really matter that much if I clean my bike?” I hear you ask. Well, to be frank, YES, it absolutely does. I’ve seen countless bikes come into shops I’ve worked in where a number of the components on the bike have worn out well before their time. They’ve then needed replacing, simply because they’ve not been looked after or cleaned regularly. Regular cleaning, especially of your drivetrain (chain, cassette, and chainrings) can save you a lot of money and keep your bike running a lot better. So here are my top tips for how to keep your treasured ride in tip-top condition.
TIP 1: Cleaning a road bike: get organized!
If psychology and behavioural science have taught us anything it’s that human beings are lazy! If things aren’t easy and there are barriers or friction in our path then it’s much less likely we will complete – or even commence – a task.
“You do not rise to the level of your goals. You fall to the level of your systems.” – James Clear.
Start by making the task of cleaning your bike as easy as possible by getting organized. So what do you need? I’d really recommend a dedicated space where you can clean your bike each time you return home from a ride. Somewhere you can spray water liberally, ideally undercover with some decent lighting is ideal!
TOP HACK: use a work stand. It is soooooo much easier to clean your bike when you have a decent solid stand! You can pick them up online or from your local independent bike shop from £30 to several hundred £££s.
TIP 2: Brush up to glow up! Get some dedicated bike-cleaning brushes
This links to my first tip: be prepared. Have a decent set of different brushes to make cleaning easier and to get into all the nooks and crannies. TOP HACK: I’ve written on each of my brushes which parts of the bike the brush should be used for, and in which order (more on this later). I’ve hung them on hooks next to my dedicated bike washing area so they’re always there waiting and ready. I can rinse them down after washing and let them air dry ready for next time. Call me fanatical, if you will.
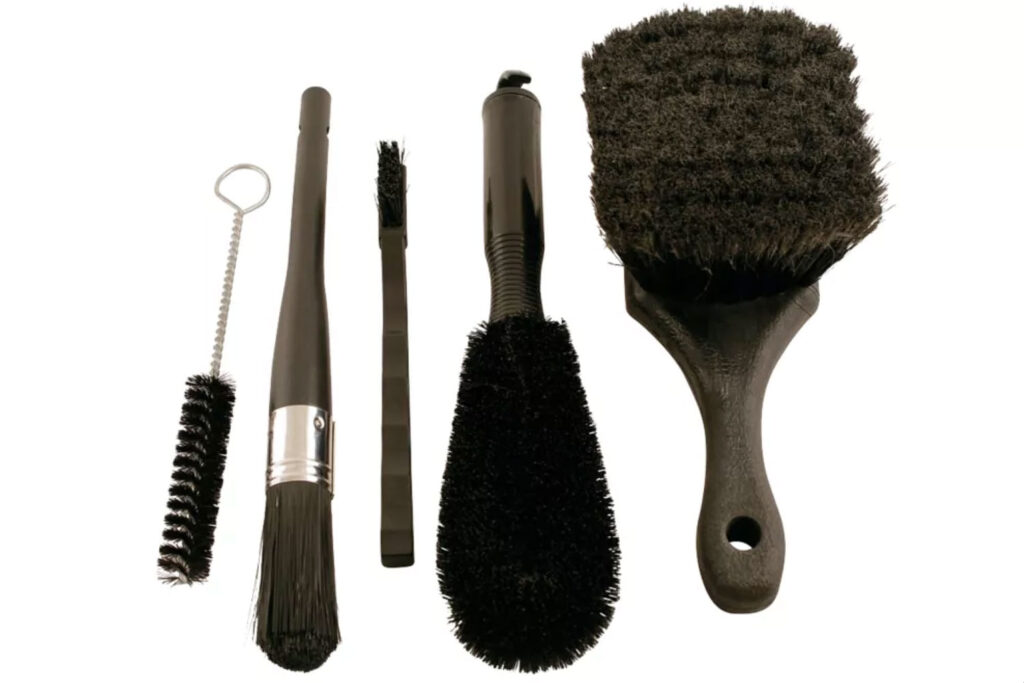
A good, dedicated bike brush kit is inexpensive and worth every penny, for sure. Screwfix does a good set for just over £10. Pst … they’re the same as the bike-specific Finish Line ones, but less money!
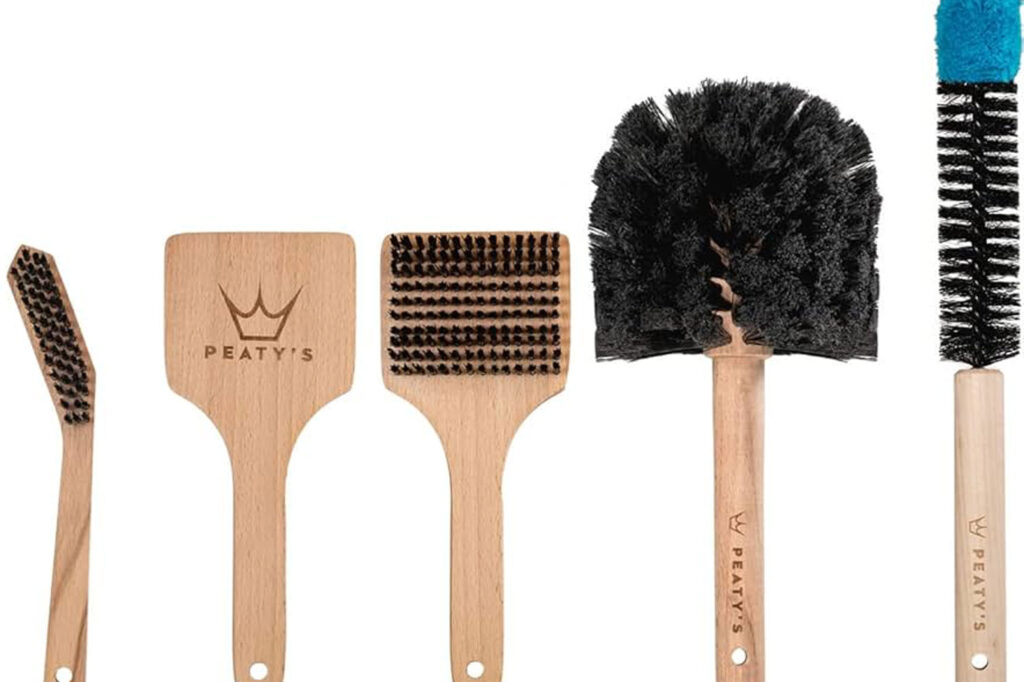
If you want to go a bit more high-end and sustainable then I’d recommend the £35 set from Peaty’s. These are made from beech wood with a wax coating for durability. They’re packaged using 100% natural Jute string and 100% recycled cardboard.
TIP 3: Start with the dirtiest: cleaning your drivetrain (the most important step!)
You might have picked up on my OCD with brush numbering and labeling, but there’s an optimum order to follow when cleaning your bike. It’s also good practice to use your brushes for the areas they were intended, to avoid any possibility of scratches or spreading of grease and grime. I’ll assume you don’t want to spend longer on this job than necessary by repeating areas you’ve already cleaned!
The ideal time to wash your bike is as soon as possible after you’ve finished your ride, before the grime has had time to dry. So first thing, give the whole of your bike a good spray down with your hose. Try to set your hose to a reasonably strong ‘mist’ setting and be careful when spraying anywhere with bearings and grease (headset, bottom bracket, wheel hubs, freehub under your cassette). This is because if it’s too high pressure it can wash out the internal grease, which can cause premature wear.
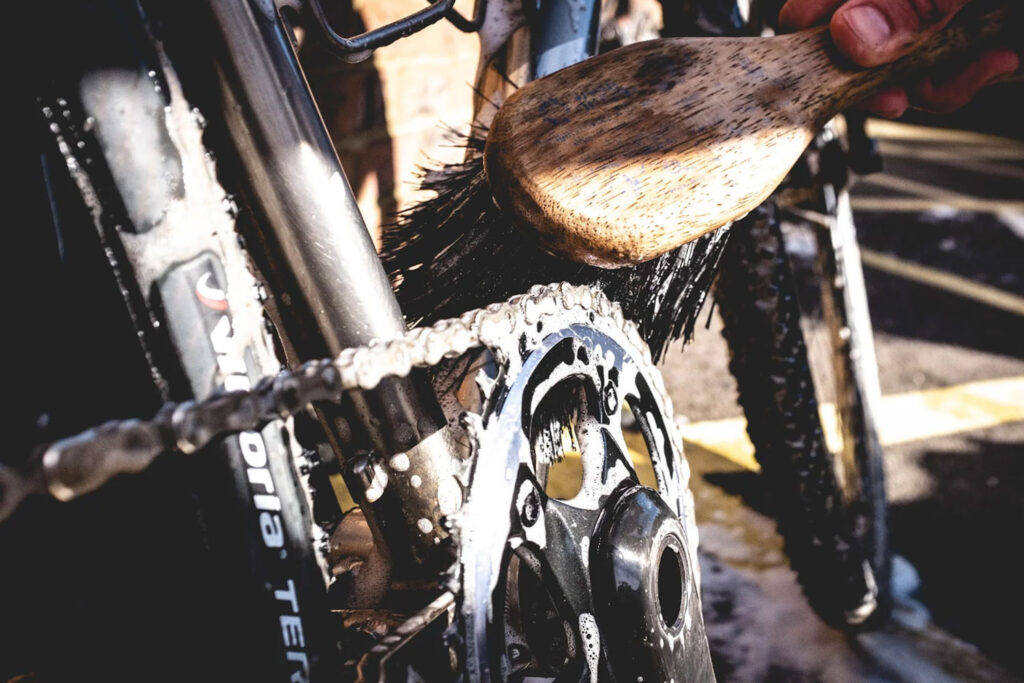
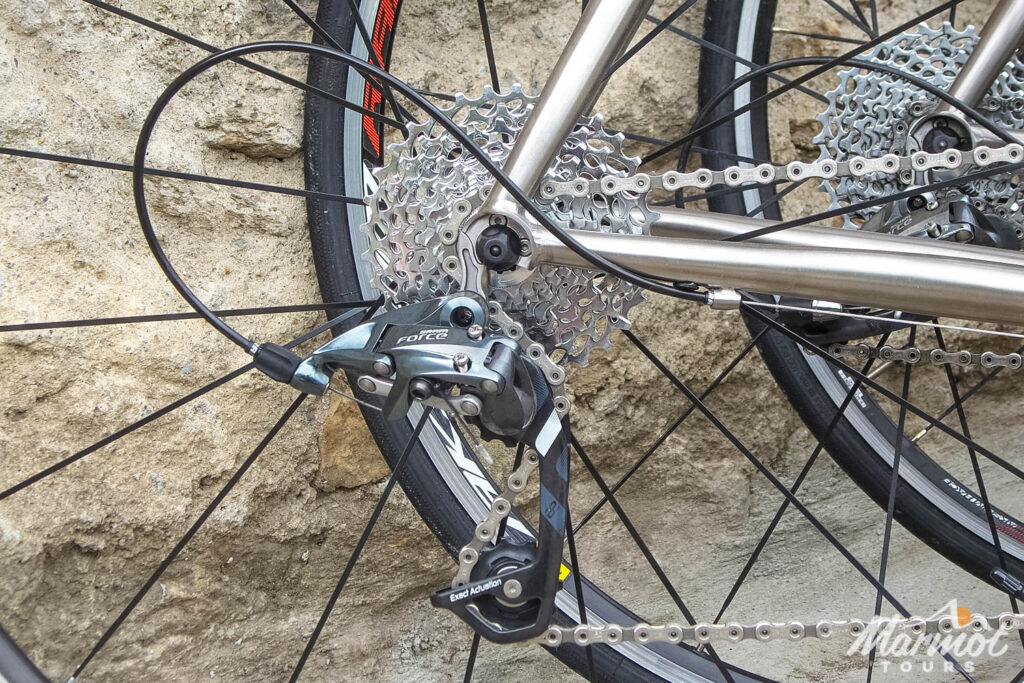
Once you’ve done your first pass with just water to get the thick off, it’s then time to turn your attention to the dirtiest and most important part; the drivetrain! Reach for your – now numbered and labeled – dedicated drivetrain cleaning brush and some drivetrain cleaning fluid. I’d recommend using a liquid rather than aerosol version as it’s better for the environment and you can better control where it goes. TOP HACK: use an old bidon/water bottle (I mean, how many of those have we all got kicking around?!) and cut it in half. Use the bottom part to hold your cleaner in your bottle cage so it’s always within reach and you won’t knock it over! You’re welcome.
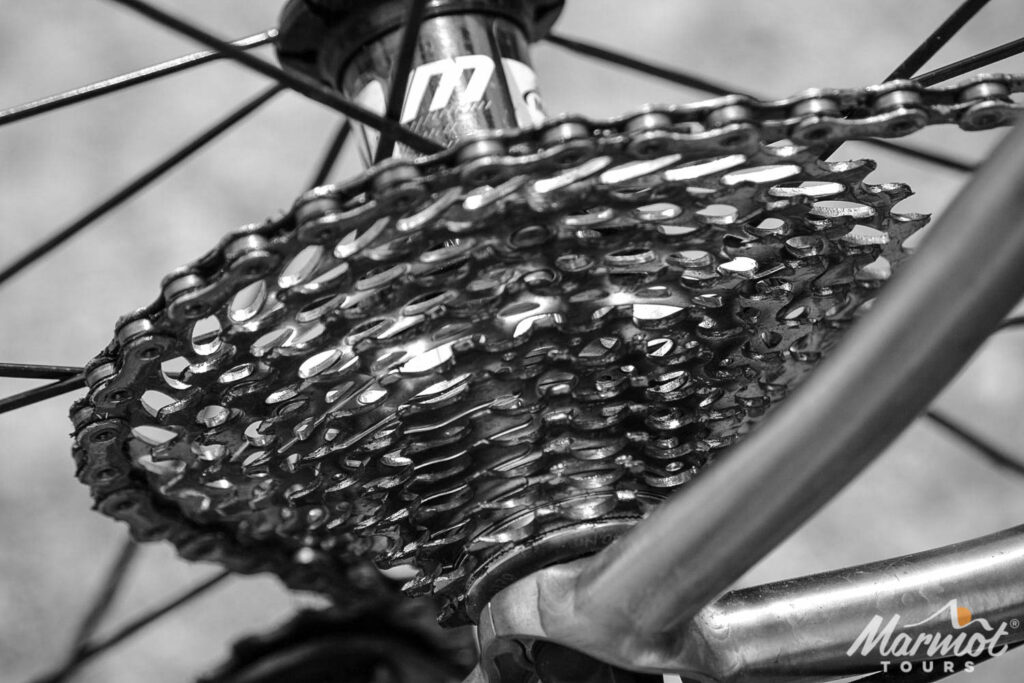
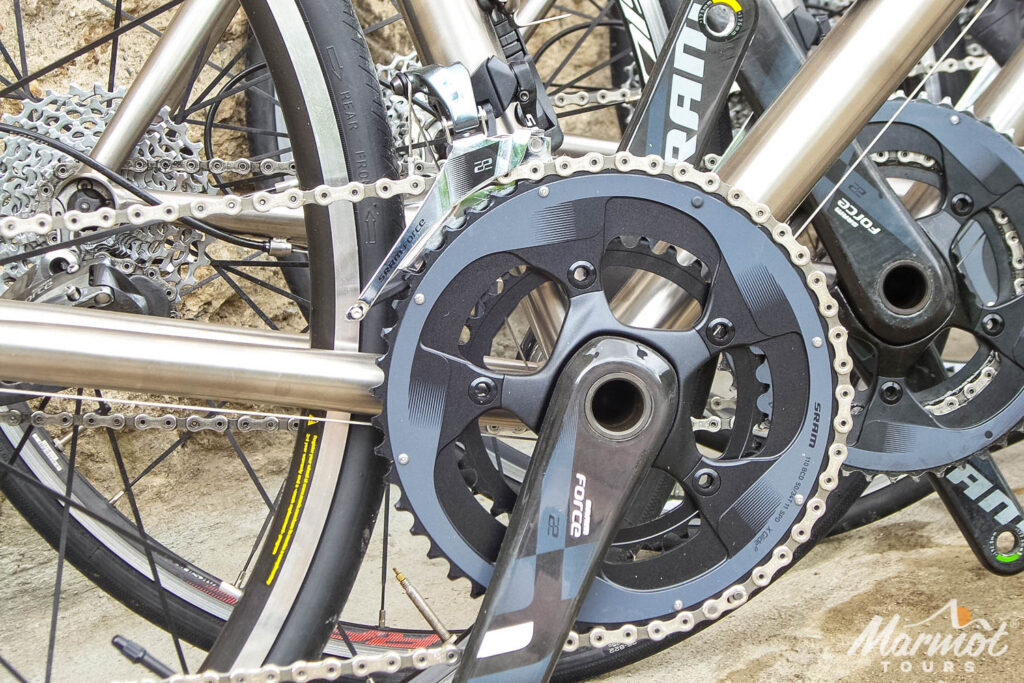
Now scrub away into everywhere you can on the drivetrain. I like to start at the jockey wheels on the rear derailleur as these get clogged up. If they’re very bad you may want to use a flat-head screwdriver to remove the Orea’s of death). Having the chain on the big ring at the front can help you secure the chain to get a good scrub on! Don’t forget to get into the teeth of the cassette and both sides of the front chainrings too. Now give this whole area another hose down.
TIP 4: And now for the rest: good ole’ soap and water
Here’s the money saver and my TOP HACK: rather than shelling out for premium bike-specific cleaners, head to your local car supplies shop and get a big bulk bottle of car shampoo! It largely does a similar thing and is typically much cheaper. Some people use Fairy liquid which is OK, but it does have a high amount of salt in it. If this is left on your frame, it can lead to rusting so if you’re using this, be sure to be very thorough with your rinsing afterwards.
Car shampoos tend to have less salt for similar reasons. So pour a glug of it in the bottom of a bucket and top up with nice hot water if available. If you take your wheels off, you’ll be able to get into all the components a lot easier.
Next, it’s time to go to town with your remaining numbered and labeled brushes on all the specific areas they were designed for. If you’ve got disc brakes, be careful not to get dirty brushes anywhere near the pads or rotors, and only use isopropyl alcohol or disc brake cleaner on these or you may develop an irritating squeak! TOP HACK: a second bucket of plain cold water is also useful to dip your brushes into once they’ve been on the bike. This will let you remove the dirt before putting the brush back into your bucket of warm soapy water.
Once you’re happy you’ve got into all the nooks and crannies and given everything a good scrub down, it’s time for a final rinse with the hose to wash away all the suds and loosened dirt. Work all the angles to ensure everything is rinsed thoroughly.
TIP 5: Dry and lube – properly!
Pop your wheels back on and give them a good spin to get rid of as much residual water as possible. Then run through the gears and finish in your highest ones, spinning the rear wheel as fast as possible to spin out as much water as you can.
Now it’s time to use a water displacer such as GT85 or WD40 on a clean cloth (an old t-shirt works fine). Run your chain through the rag to get the displacer into the links and rollers of the chain and get rid of any water that – if left – could lead to rust.
Now with a microfibre cloth give the whole bike a dry down, again being careful not to rub any dirt on the disc brake rotors or rim braking surface. The final stage is to lube the chain (use wet lube for wet conditions and dry for dry conditions). You want to try and get one drop on each roller. TOP HACK: It’s good to start and end at your quick link (the one link that looks different from the others) so you know where you’ve started and finished.
In terms of the best technique, Josh Poertner of Silca-fame produced an excellent video on the best technique according to SCIENCE! In summary, it’s as follows:
- Shift to big-big
- Backpedal
- Apply one drop of lube to each roller right before it engages a cassette tooth
- Let the chain sit to dry – ideally for 12-24 hours – and wipe off.
For the full, Josh-style explanation, please see the video here.
So there you go, your bike should now be a shimmering joy. Do this after every ride and you’ll really notice the difference. What’s more, if you’re coming on a cycling holiday with us, get your bike in working order like this, and it will make a noticeable difference to your riding experience in the mountains. Take my word for it, you’ll never regret the time spent cleaning your bike!
Tom Mutton.