10 minute read
We get a lot of questions from cyclists about raids, from “How hard is it?” to “Will it really test me?” and everything in between! While our team are super helpful answering most of your questions about raids, we’ve put together this deep dive with the help of our guide and avid cyclist Constantin Bartels. It’ll help you thoroughly research and then decide whether a raid is the right cycling tour for you and comprises all you need to know if you’re thinking of taking on a raid cycling challenge.
We have five raid cycling tours amongst our itineraries, each unique and with a different level of difficulty. Indeed, if you’re looking at any tough cycling challenge, there’s a whole host of guidance in here which it would be useful to gen up on.
RAID. Perhaps you’ve heard the term on a club spin. You might have read about it in an article or on social media, or come across it while looking for cycling holidays online. Tales of epic trips through enormous landscapes, with suffering to match. Mountain weather. Hours hunched over handlebars. Panoramas that stay etched in your memory. Sore legs and a steely determination. Well, what is it all about really?
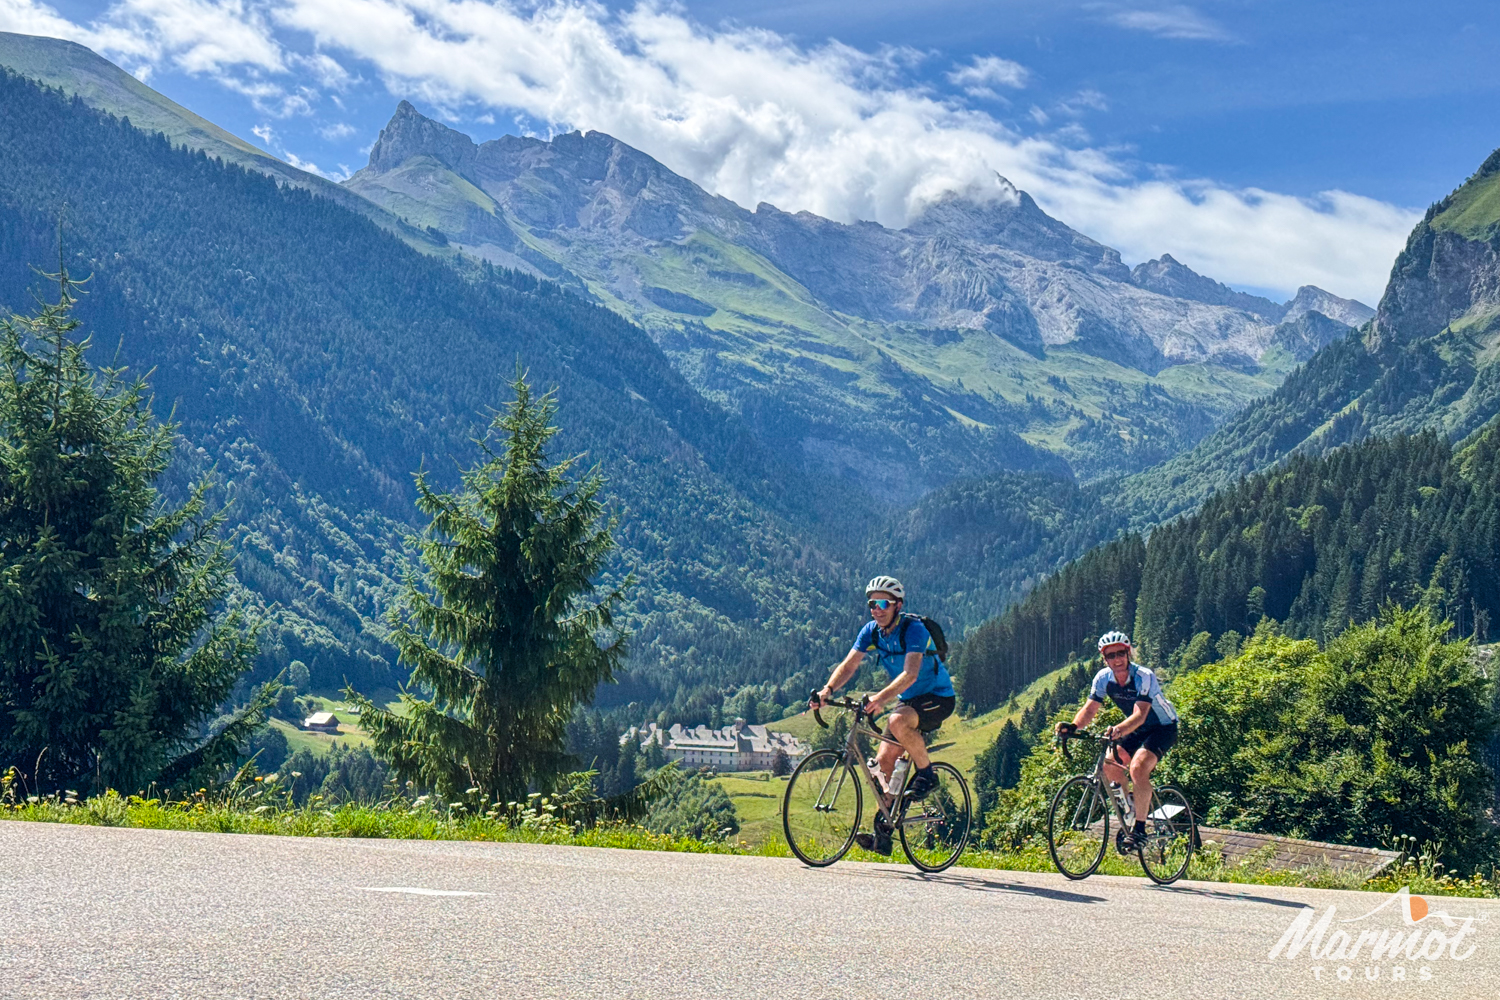
Essentially, a ‘raid’ is a challenging point to point, multi-day cycling challenge, traversing an invariably mountainous route.
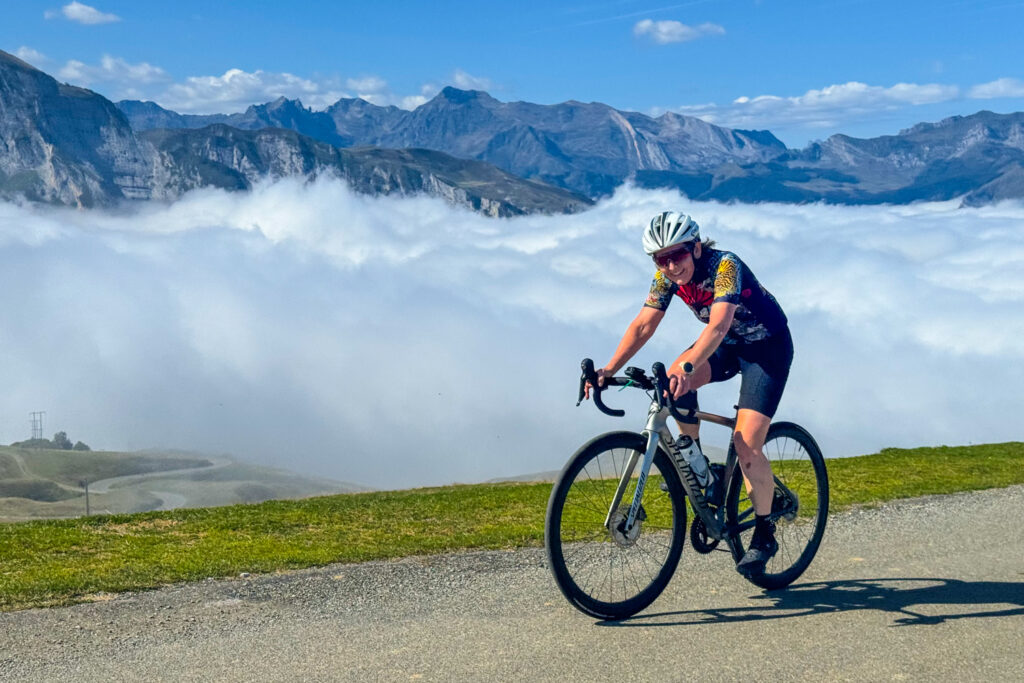
The stage is set for adventure, as the landscapes you pedal through will bring you closer to the heavens. Not just by virtue of their lofty peaks, but the combination of elation and strife might have you experiencing your own spiritual epiphanies. For those wanting to cover a huge amount of terrain in a relatively short time, that box will be firmly ticked. For those seeking to test their mettle, they too shall be satisfied.
The undulations of tortuous roads and gradients that snake their way up some of the most beautiful mountain ranges of Europe will provide content for countless stories to be told for a lifetime. Finding yourself in the company of kindred souls can build a camaraderie only found in the trials of such tremendous feats.
Well, with all that intrigue, let’s demystify it all a little!
Key features of a raid
- Point to point cycling challenge, generally crossing a mountain range.
- Multi-day event, which is available as a fully supported cycling holiday by Marmot Tours (the best in the business!)
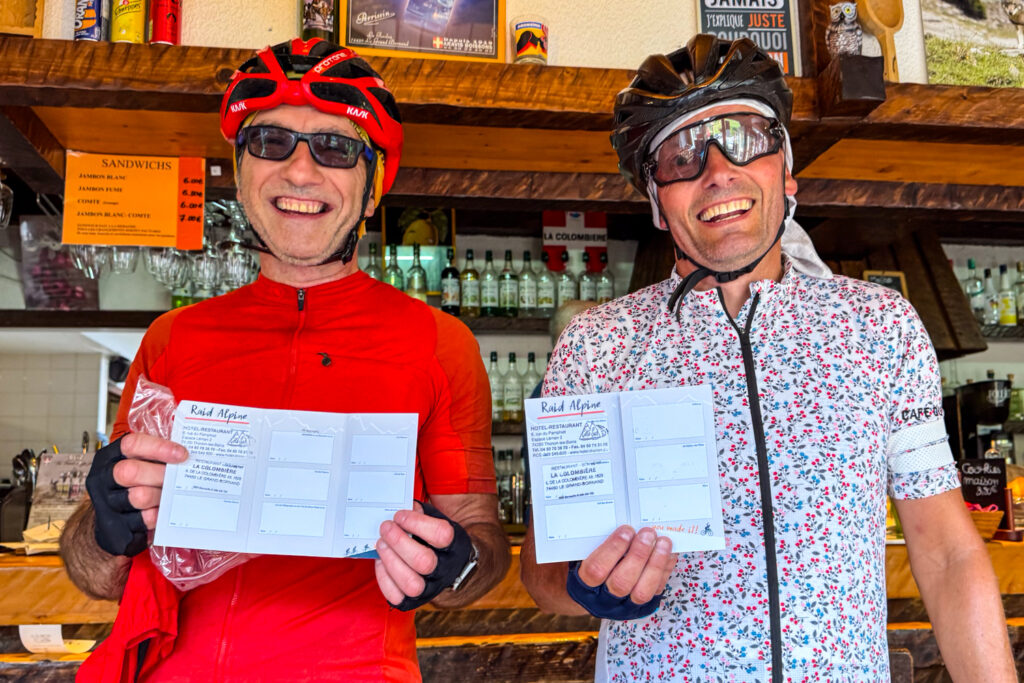
- Requires riders to have a card (‘carnet’) stamped to confirm their passage through key points, with a medal awaiting successful finishers as a memento of their experience.
Marmot Tours offers several raids as fully supported cycling holidays, where all you will have to think about are pedalling the kilometres ahead, eating and sleeping! Easy, right?!
Here’s a little snapshot of each raid we offer:
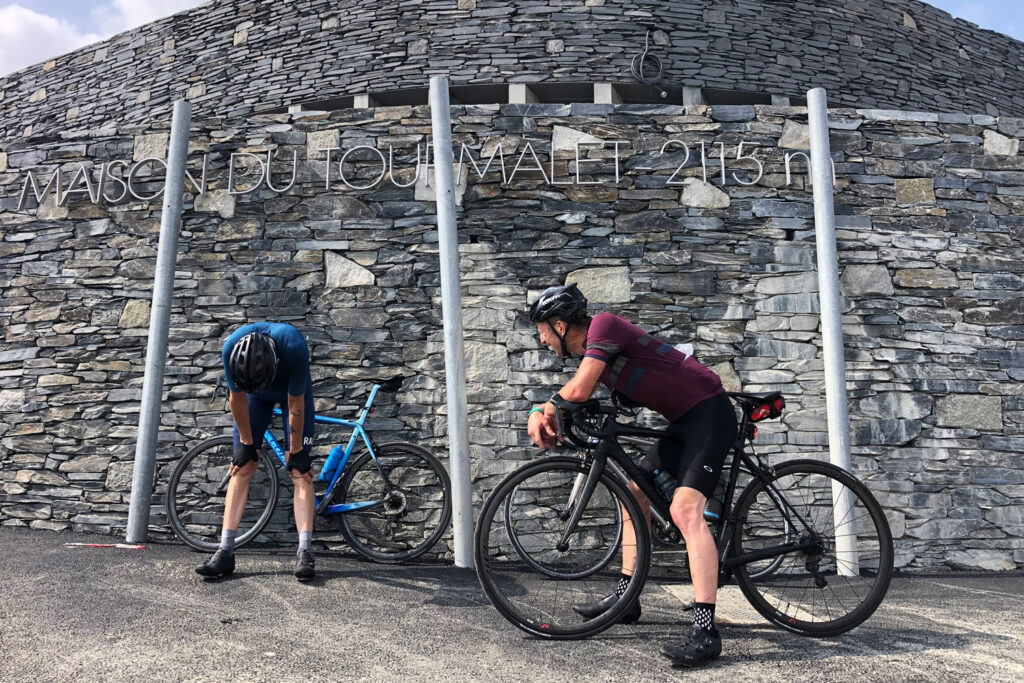
Raid Pyrenees
- Traversing the Pyrenees from the Atlantic to the Mediterranean, west to east.
- A unique format with an overall time limit of 100 hours to complete the route, over five days of riding.
- Taking in some of the most well-known climbs in all of cycling lore, including the mighty Tourmalet and Aubisque.
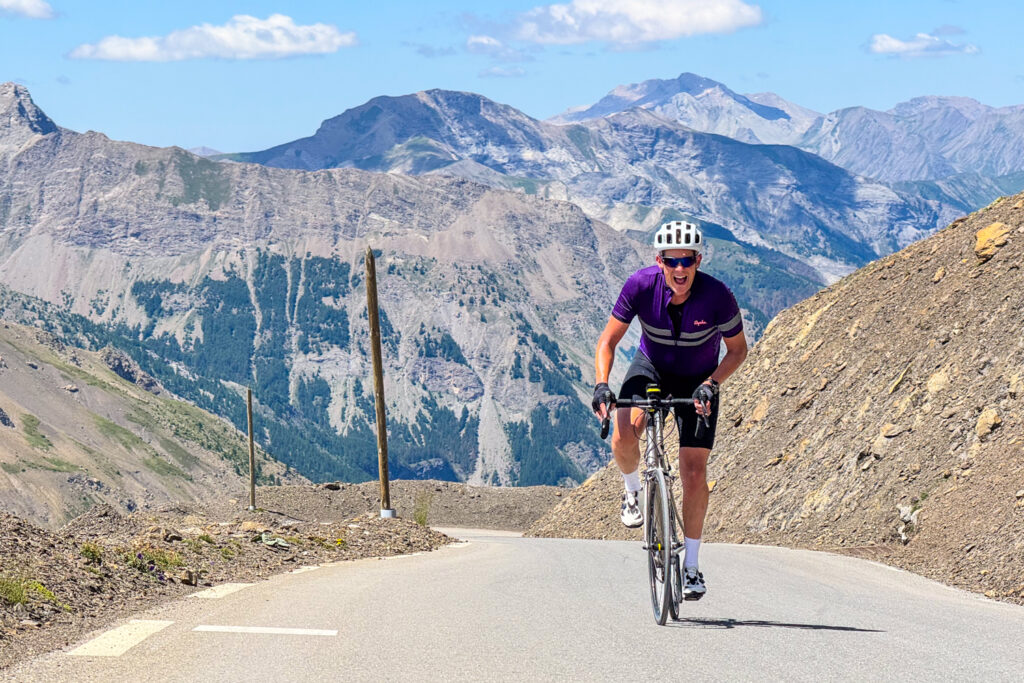
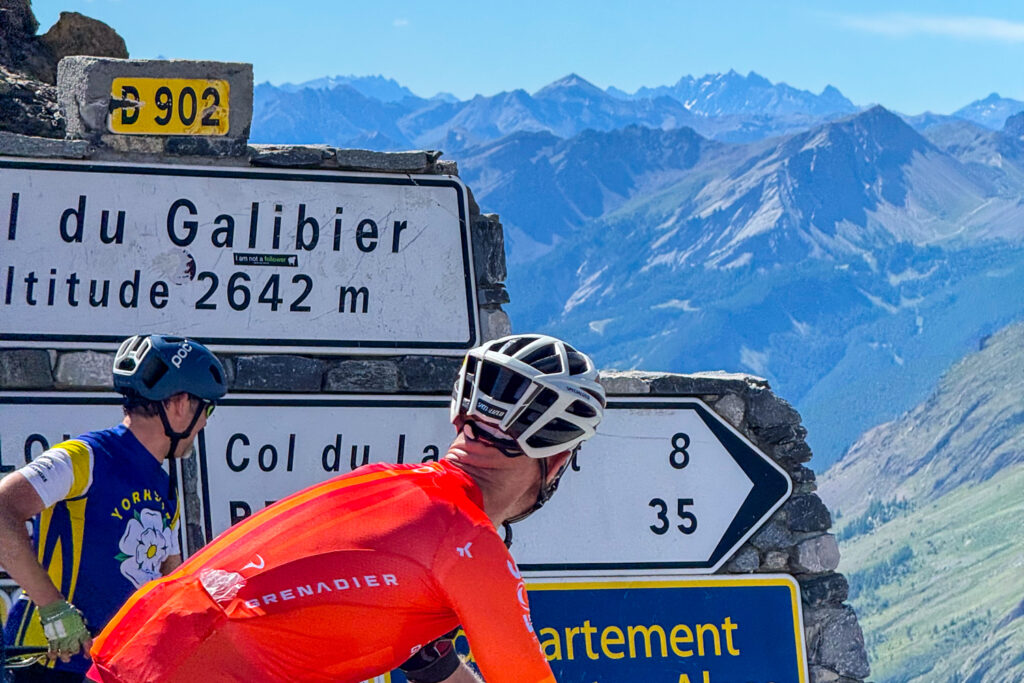
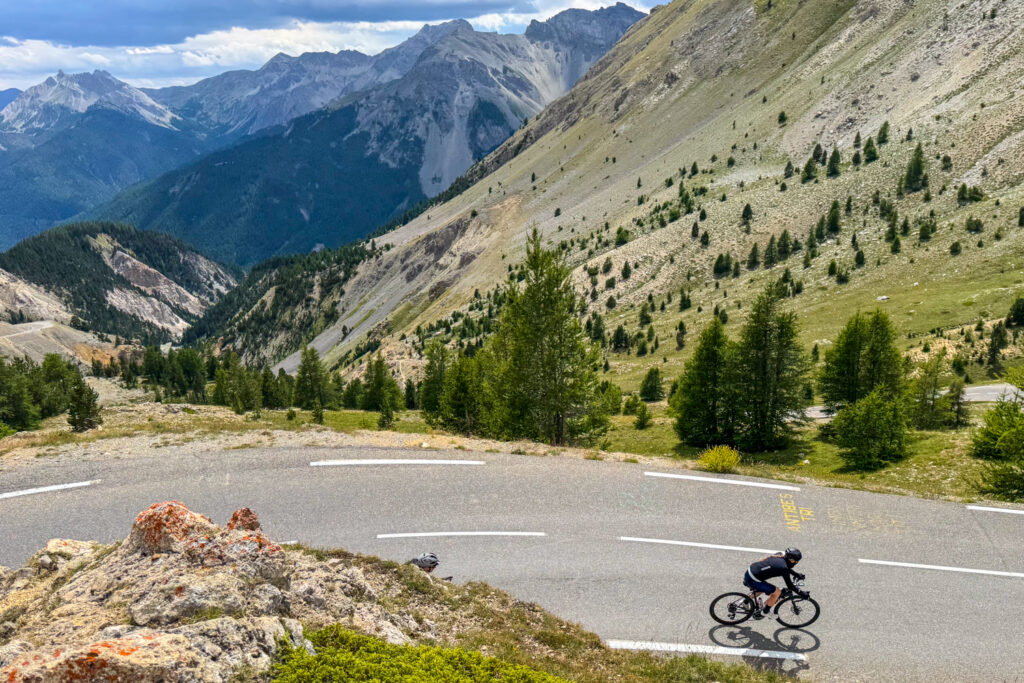
Raid Alpine
- Again the goal is the Mediterranean, but this time the starting point is a lake: Lake Geneva, on the faaar side of the Alps!
- North to south journey through the French Alps, covering much of the Route des Grandes Alpes, and many of the best European cycling climbs!
- Six days of riding, including the two highest road passes of western Europe; the Cime de la Bonnette and the magnificent Col de l’Iseran.
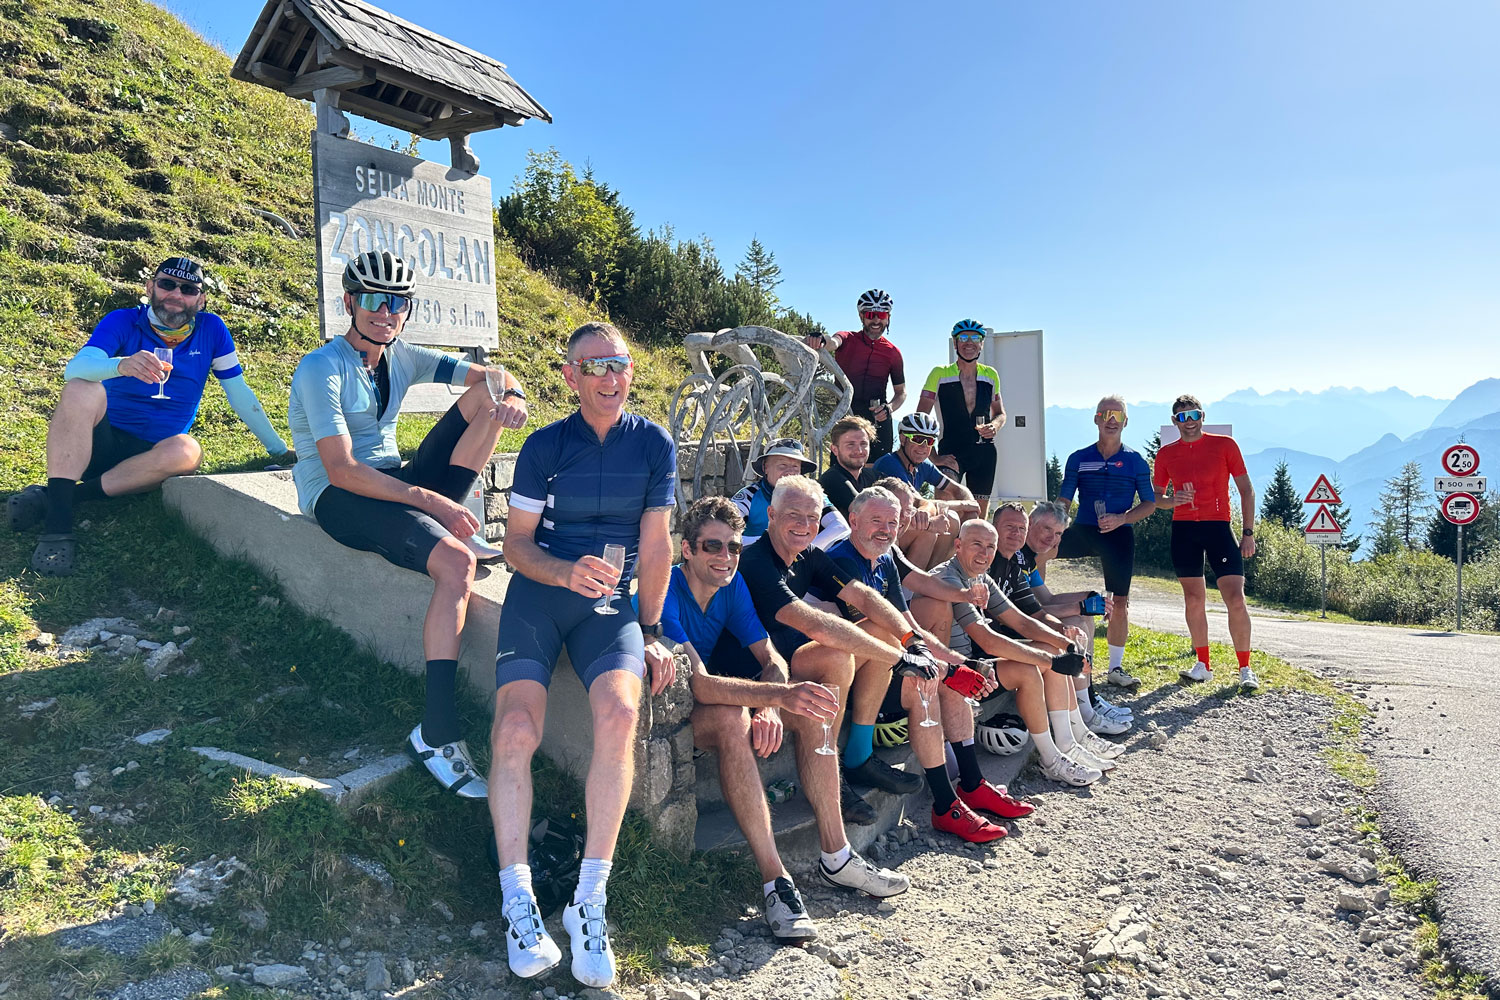
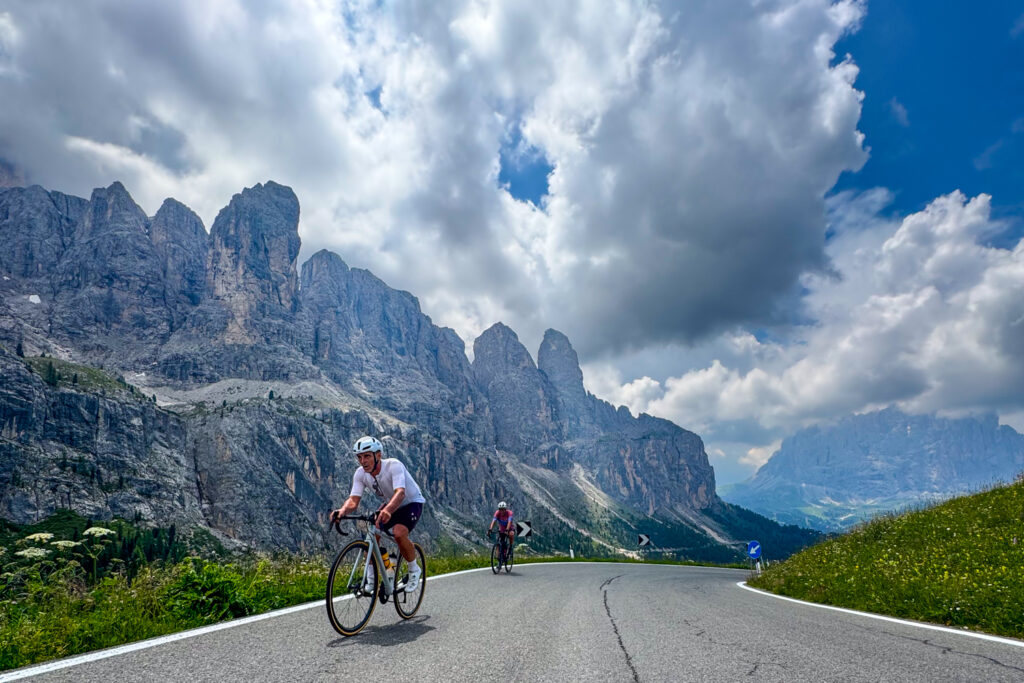
Raid Dolomites
- This is the big one! A nine day traverse riding west to east across the Alps, through France, Switzerland and Italy.
- Take on the Stelvio, Gavia, Zoncolan, Via Tremola de San Gottardo and many (many!) more on this truly epic cycling challenge.
- There is a mid-way ‘rest day’, where all that is asked of you is to tackle the Stelvio pass: a 21km ascent with its 38 hairpins from the Bormio side; little more than a walk in the park …!
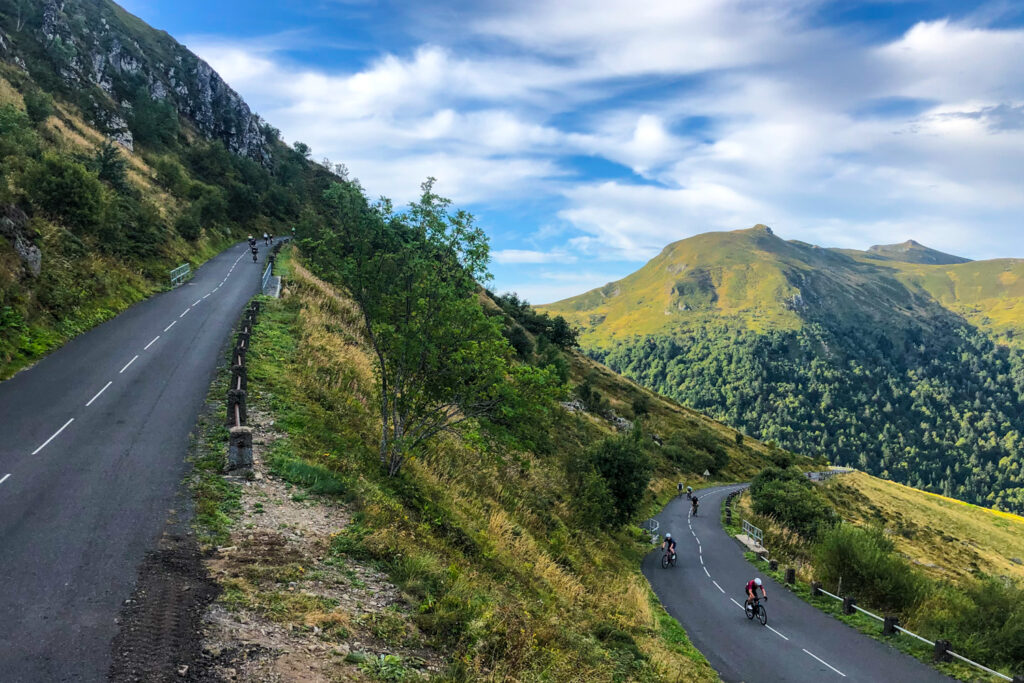
Raid du Massif Central
- Perhaps a lesser known mountain range than the Alps or Pyrenees, and lacking their absolute altitudes. However, this six day north-to-southwest challenge will not leave you wanting for elevation gain!
- Cross through beautifully remote and wildly varied landscapes, steeped in Tour de France history.
- Many riders find this is the hardest of the Marmot Raids (apart from the Raid Dolomites, obviously!).
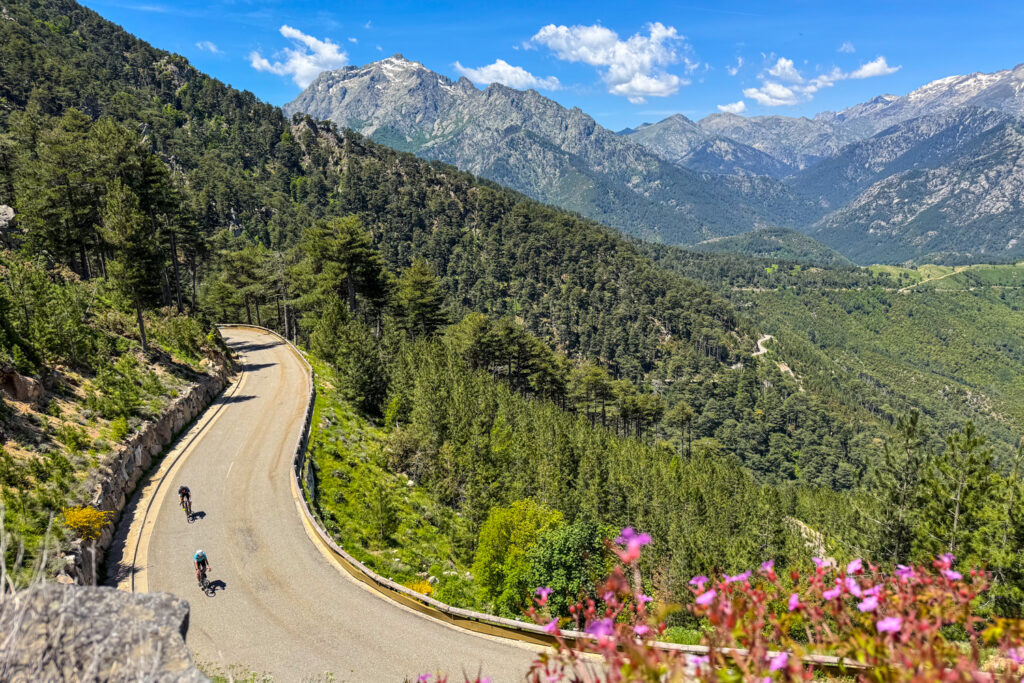
Raid Corsica
- A six day lap around the ‘Île de Beauté’, taking in its diverse nature and history.
- There are more stretches of flat roads on this route, which present their own challenges, but rest assured there will still be plenty of climbing!
- Underestimate the difficulty of this Raid at your peril! Due to the undulating terrain, most riders agree this Raid is harder than the Raid Alpine or Raid Pyrenees.
What does it really take to make such a challenge achievable, nay even enjoyable ?! Here are some scenarios to think about:
- If you have only recently started riding, maybe in the last year or two, and do not have a supernatural ability from some other endurance sporting background (or genes the envy of all who know you), it may be better to start with a more flexible cycling challenge. Marmot Tours’ Classic cycling holidays feature a choice of multiple routes each day which vary in length, metres of ascent and difficulty, so you can choose how much (or how little) you want to push yourself. You can ride at your own pace while still being fully supported by two awesome guides with our customised support vehicles.
- Have you ever cycled in any mountain ranges before? How did you fare? Could you do multiple back-to-back days of perhaps the largest rides you did while you were there?
- Do you ride with a club (or friend group)? Is it a fairly ambitious club? Or is it more leisure focused? How do you hold up on the rides compared to the other cyclists? Consider especially any of those who have recently completed a large cycling challenge such as a raid.
- Do you have any health conditions that may impair your ability to complete such a challenge?
- Are you used to long hours sitting on a saddle? Perhaps at times stretching to the region of 10 hours and beyond, and then could you be ready to do something similar the next morning? And the next …?!
- How are your bike handling skills? Can you stay alert and safe on a twisty descent late in the afternoon of a full day’s riding?
- How do you handle extremes of temperature? A climb that may start in 40 degree heat can change into a thunderstorm with shocking abruptness at times.
- If you have ever completed any difficult events such as a sportive or gran fondo, was it a case of just barely getting around, or did you feel you were within your abilities, able to at least entertain the idea of doing the same again the next day?
- A critical question: how much training time are you likely to have available? Work, family and other commitments are all things we each need to make decisions regarding (many of these decisions may be made for you …!)
- For those of you who like numbers, the following values would be a good minimum level to be able to sustain, climb after climb, day after day:
- VAM of 500m/hr (about 1,500 feet/hr), equating to about 1.8-2w/kg.
- On a typical day with 2,500-3,000 metres of climbing, this would mean 5-6 hours of pure ascending time, adding in at least 1.5 hours for descents, and probably another 1.5 hours for lunch, coffee and other breaks (photos!)
- Training volumes – if you spend less than 4 or 5 hours on a bike per week, it may prove challenging to adapt to the volume asked of you on a raid!
You might have read that list and thought, “Yes, that all sounds manageable!”, or you may be unsure about some of the points. Either way, we advise you to consider these key things before deciding if a raid is a manageable challenge for you:
Training
- You will obviously need to spend a lot of time on your bike, and when considering a multi-day event, there is no substitute for spending long hours in the saddle.
- At least once every 7-10 days, spend 4+ hours on the bike, which will make all parts of the challenge more enjoyable. Not just from a fitness point of view, but also to prepare you for adapting to the relatively rigid cycling position. Getting your backside accustomed to the saddle, seeing what works for you nutrition and hydration wise, and even the psychological aspects of long days on the bike.
- Consistency beats intensity every time. It’s advisable to ride 3+ times a week, week-in, week-out to get you to a decent starting point with a good prospect of seeing the challenge through.
Recovery
The less flashy side of training. This is where the magic actually happens, and you can adapt and get stronger. How well can you fit this into your lifestyle? What are the obstacles that may take away from restorative sleep or quiet time?
Bike handling
Long and twisty descents may not be something you have close to where you live. Nevertheless, the principles are transferable from day-to-day cycling. Any corner can help you focus on building your confidence with leaning your bike, anticipating and planning your entry and exit, and how and when to use your brakes safely and effectively. Ask experienced riders, watch videos online, and most importantly, ride your bike! Find a safe place where you can practice a little, and set yourself small goals. Off-road cycling in particular can help improve your confidence and competence hugely.
Nutrition
An army marches on its stomach, and while everyone’s needs are different, spending time on longer rides will help you find out what works for you. Generally speaking, if you find every long ride ends in a monumental fridge raid and utter collapse, you probably didn’t eat enough! Remember that during the challenge, today’s fuel is also keeping you ‘in the green’ for tomorrow’s ride.
Stretching, flexibility, core-work and weight training
These are all worthwhile investments and will improve your chances of finishing and enjoying a raid. Topics too vast to cover here, but you won’t regret time spent in these areas!
Expert help
A bike fit is a useful consideration, and you may benefit from the specific inputs of a coach, but these are certainly not requirements of taking on a raid.
Last but not least, the most important element of all …
Why?!
Weigh up all of the above in the context of how badly you WANT to do it! It’s a big commitment. This is your precious time-off, and requires time spent away from loved ones and obligations, both for the preparation and the event itself. If you’re ready to push yourself then the rewards are tremendous. From the enormous satisfaction of conquering seemingly relentless gradients, to the backwards glance as you ponder, “Did I really just ride all the way from there to here?!” Mountains covered in flowers and enveloped by the scents of summer. Panoramas so wide they stretch your very imagination. Forces of nature mingled with the resilience of those who went before us and who engineered these mind-boggling mountain passes and crafted these epic routes.
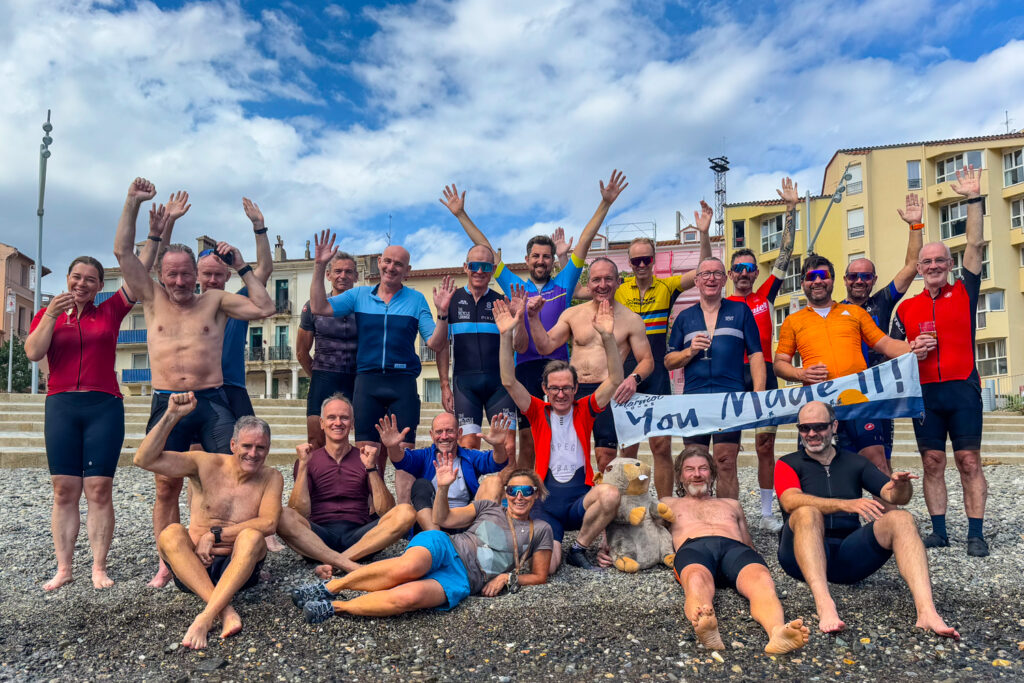
If, after combining all of these into a cauldron of sweat, doubt, saddle sores, fatigue, hours of dedication, hundreds of training miles, questioning your choices as that 3rd summit of the day refuses to come any closer … If the potion still comes out tasting sweet, then we’d love to see you on the road, gathering stamps, unforgettable impressions and friendships for a lifetime.
P.S. If not, you can sup on the good parts of the brew in a more leisurely format on any of our Classic, flexible-pace cycling holidays we offer.
Constantin Bartels.