BIKE STUFF & KIT | 26/04/2025
| By Marmot Tours
| 10 Minutes Read
TOP TIPS: HOW TO PACK YOUR BIKE FOR YOUR NEXT CYCLING TRIP
Bike Stuff & Kit
7-minute read
Europe is a cyclist’s dream - from the rolling foothills of the Pyrenees and Provence, to the alpine climbs of the French Alps and Giro classics of the Dolomites. Cycling in Europe offers some of the most picturesque and challenging routes in the world. If you're planning a cycling holiday in Europe - maybe with us, Marmot Tours - one of the most important factors to consider is how to pack and transport your bike. Getting your bike safely to your destination and ensuring it's in perfect working condition when you arrive is essential for a successful trip.
This month, our guide and all-round bike nut Tom Mutton has penned us a blog with some expert tips on how to pack your bike for a smooth and hassle-free European cycling holiday, or for any other cycling tour that requires you to pack up your two wheels. Following these tips will ensure you can quickly and safely reassemble your bike once you've arrived at your destination, leaving you more time to relax and prepare yourself for the first day of riding.
1. Choose the right bike box or bike bag
The first step in packing your bike is choosing the right bike box or bag. There's a multitude of options available, and your choice will largely depend on your budget, how much protection you need, and how much space you have at home to store it. There are two main types to consider ...
Hard case bike box
A hard case bike box is a sturdy, rigid option that provides maximum protection for your bike during transport. It’s perfect for long-distance flights, especially if you’re worried about rough handling at airports. These boxes are typically made of plastic or composite materials.
Pros: Excellent protection against bumps and drops, suitable for long-distance travel, and easy to transport.
Cons: More expensive than bike bags, plus bulkier and heavier, making them harder to store at home.
Our favourite hard cases: We’ve seen A LOT of hard cases in our time and have seen the good, the bad, and the ugly. In our opinion, some of the best are:
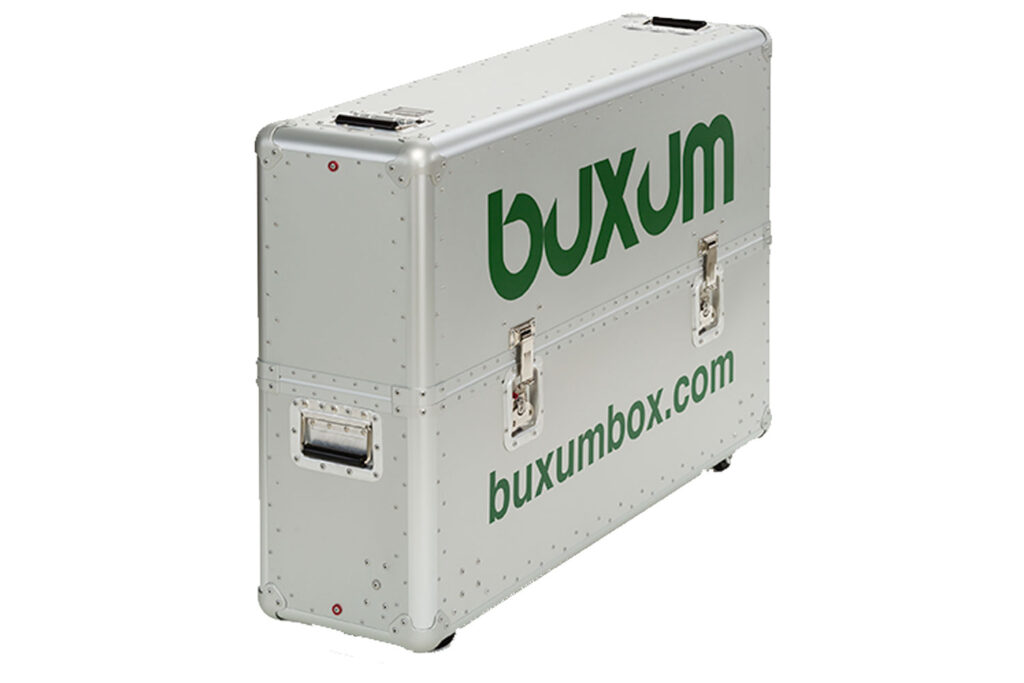
Buxom - Pretty expensive, but these big beauts are bombproof and come in a number of options.
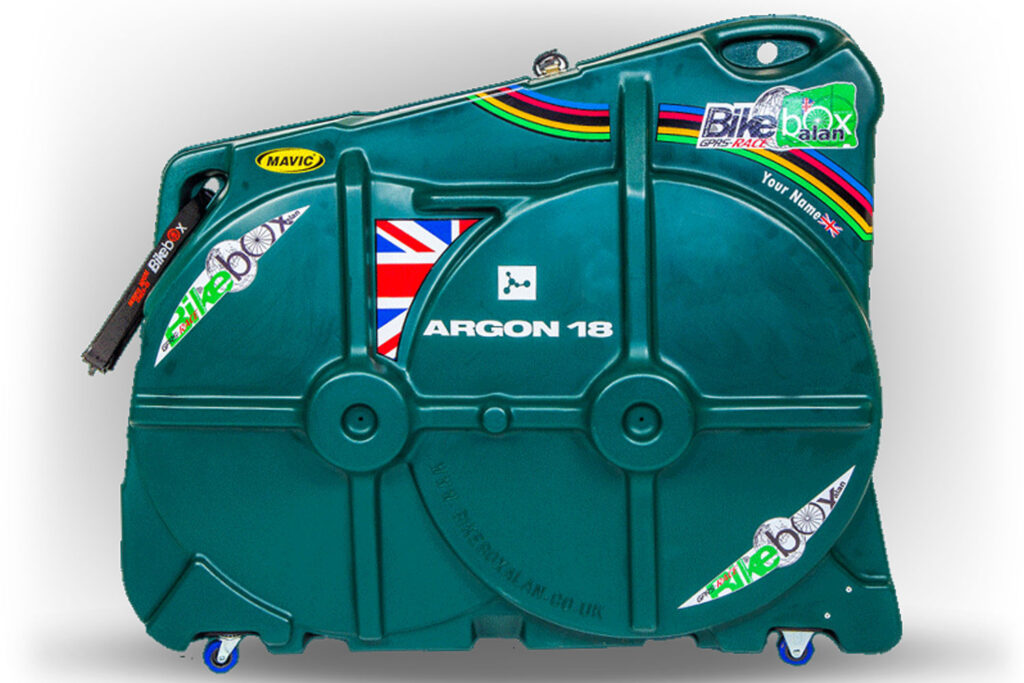
Bike Box Alan (BBA) - Made in the UK (Rotherham) and with a seven-year guarantee, they are probably the most common. They now come in a larger version, which means less assembly/disassembly, but they do take up a lot of space. The regular version is a classic for a reason!
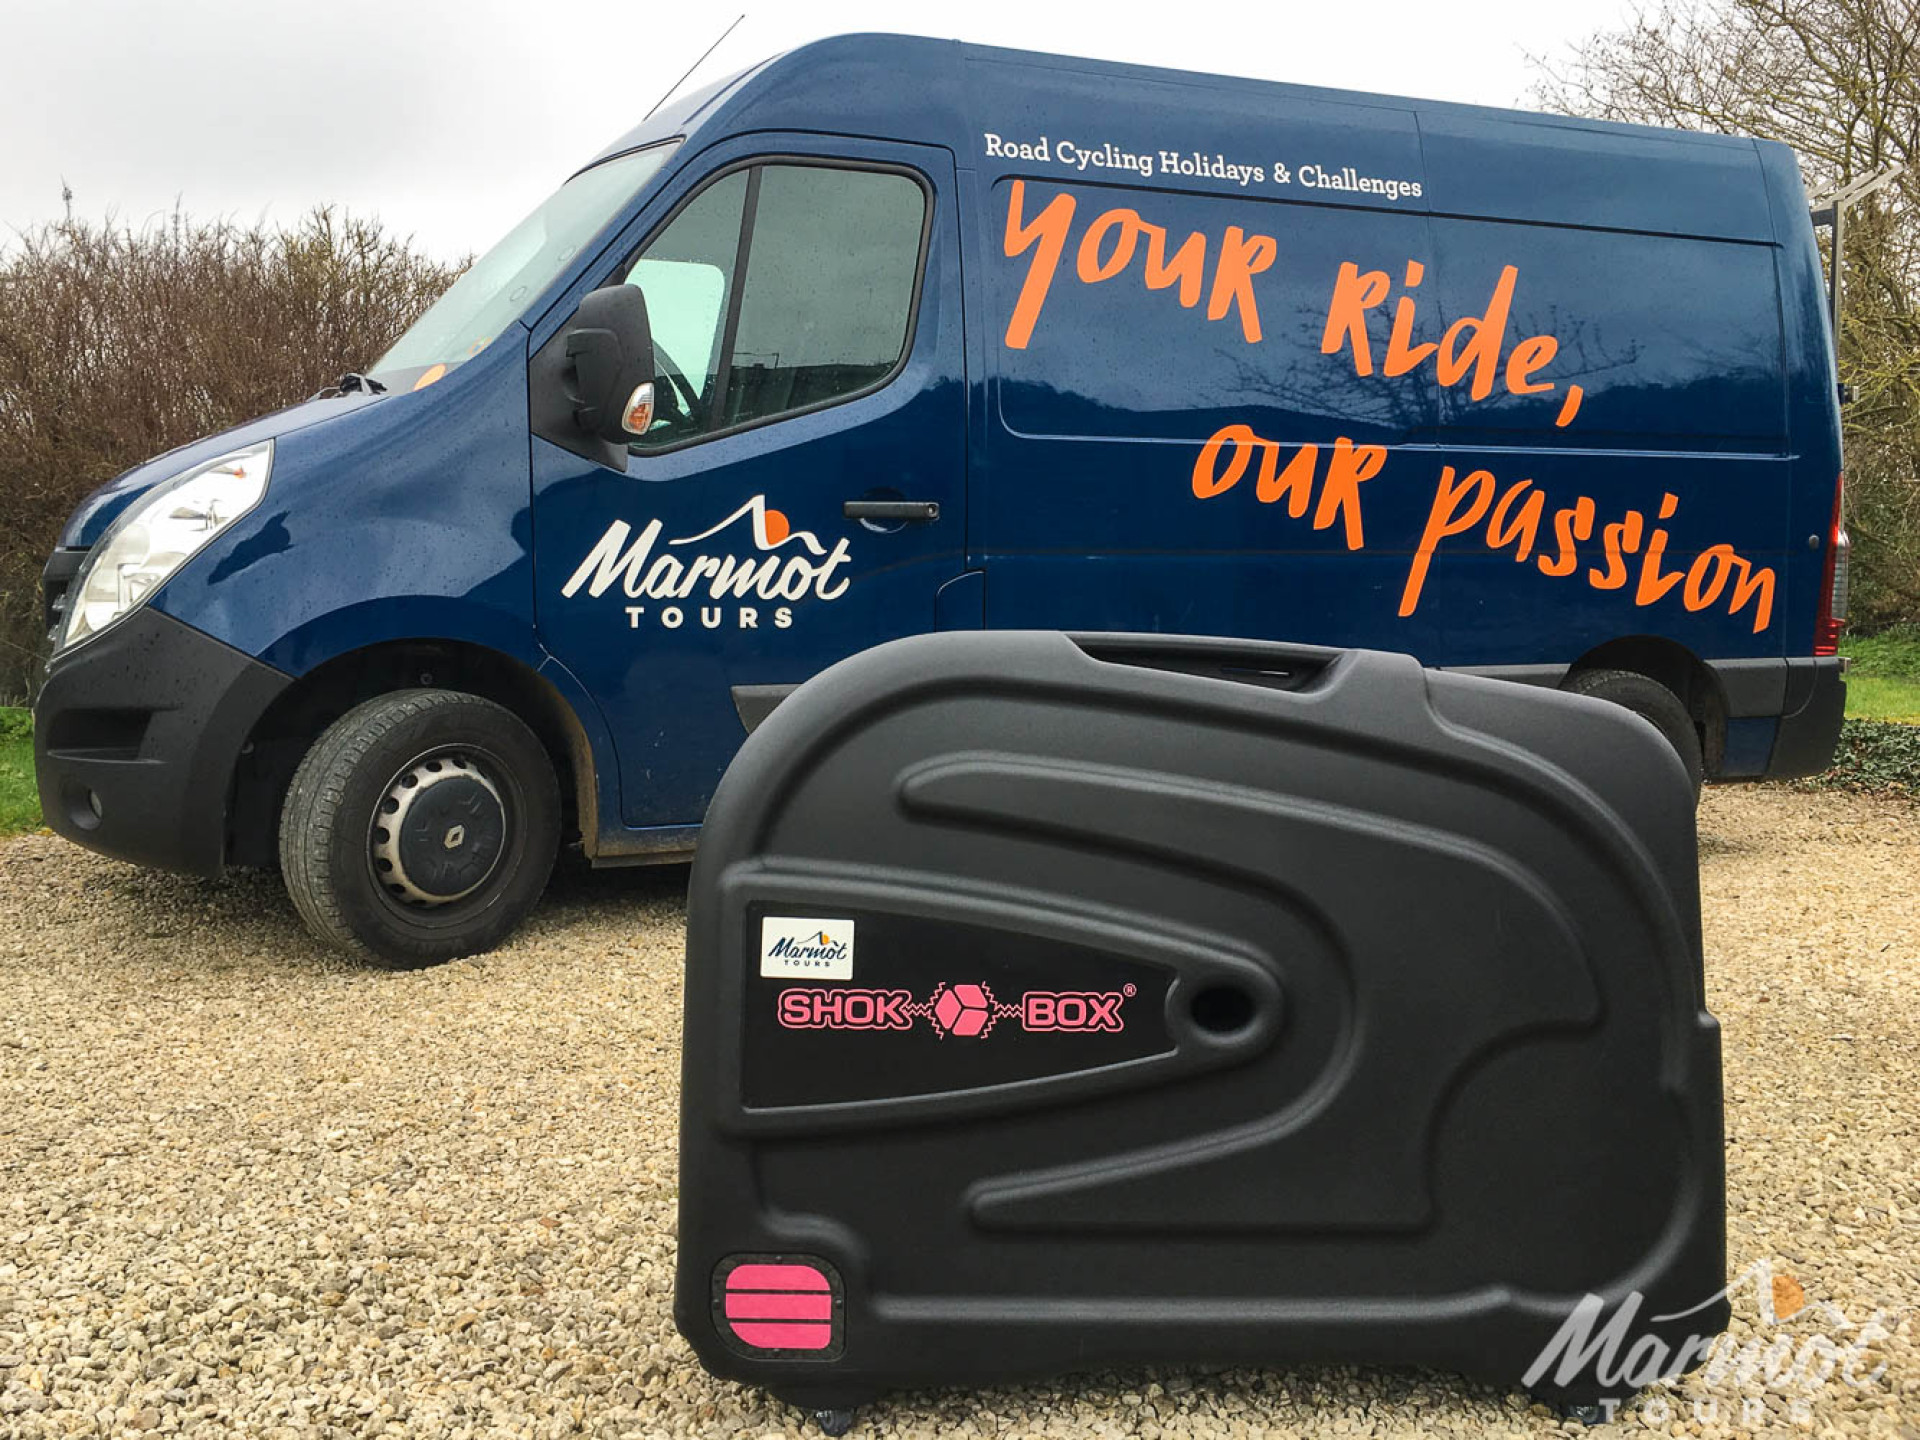
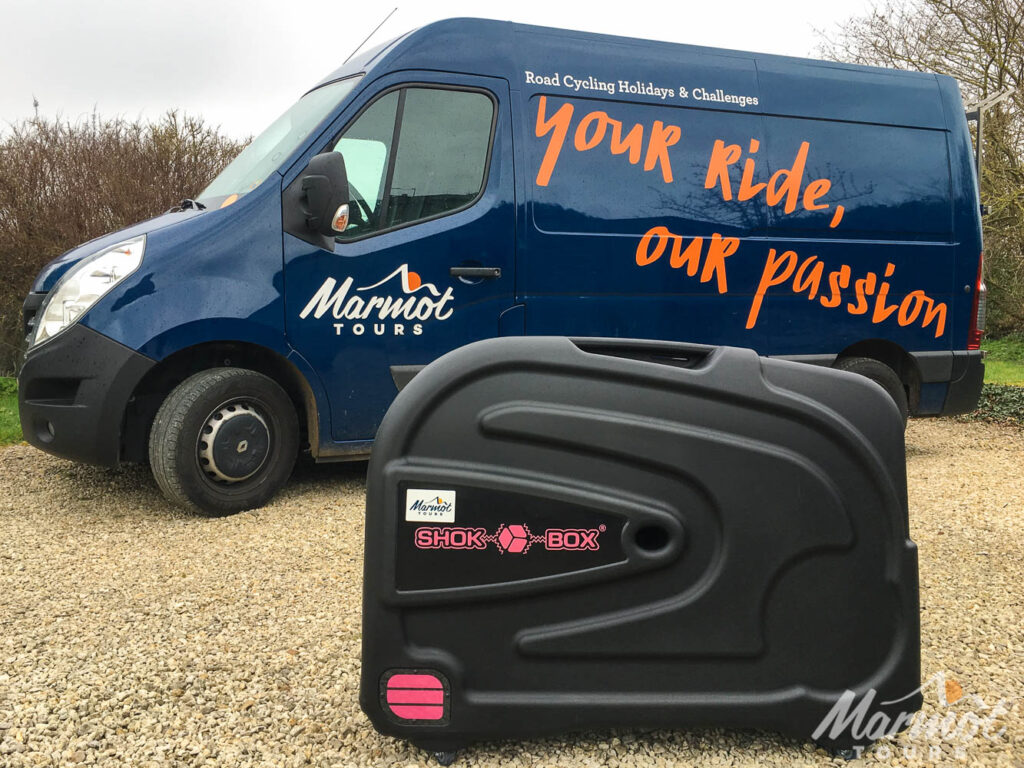
ShokBox - A close contender to BBA! Designed and built in the UK, we’ve even paid homage to this one in a previous blog.
TOPEAK Pak Go X - This one comes with a stand to make assembly/disassembly a breeze!
Soft bike bags
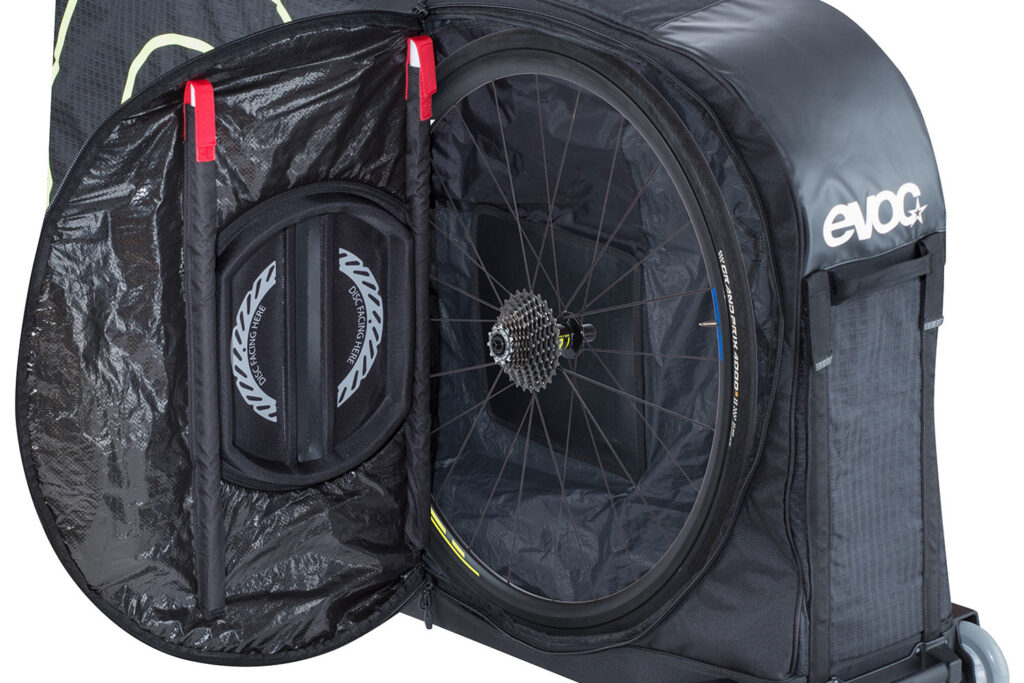
A soft bike bag, on the other hand, is more lightweight and flexible. It’s essentially a large padded duffel bag with straps to secure your bike. While a soft bag doesn’t offer as much protection as a hard case, it’s a more affordable and lighter option for cyclists who want something easier to store at home.
Pros: Lighter and more compact, more affordable than hard cases, and easier to store when not in use.
Cons: Less protection for your bike, plus they require more careful packing to avoid damage to your bike.
Post Carry Co - These are so compact that some people have managed to book this bag on their flight as normal hold luggage, as it looks less like an obvious bike bag.
Bonus tip: If you're flying, many airlines have specific size and weight restrictions for bike boxes/bags, so be sure to check these beforehand.
2. Disassemble and pack your bike carefully
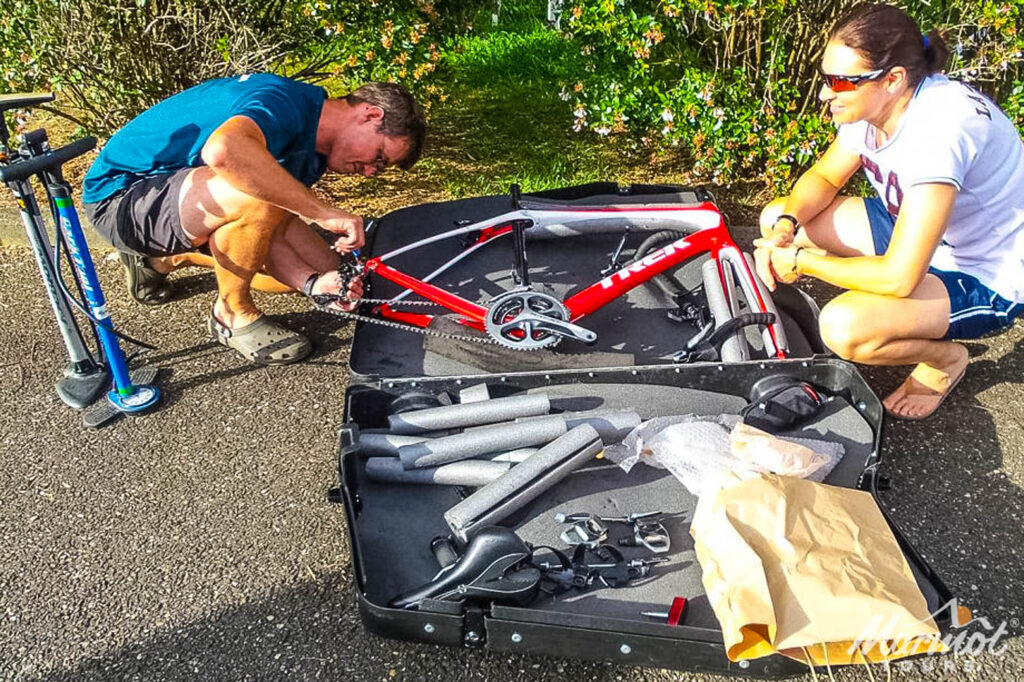
Once you’ve selected your bike box or bag, it’s time to disassemble your bike. While it may seem like a daunting task, taking your bike apart carefully will ensure it fits neatly into your chosen container and remains protected during transit. Read on to find out how to disassemble your bike for packing ...
Remove the pedals
Start by removing both pedals from your bike. Do this before you take your wheels off, or you'll curse later on! Use a pedal spanner/wrench or a hex key behind the pedal to remove the pedals from your bike. This is often overlooked, but it's important for reducing the overall size of the bike and preventing any damage to the pedals during transit.
Bonus tip: To loosen pedals, turn the tool towards the back of the bike on either side. Turn the tool towards the front of the bike to tighten them. This can really confuse people, so having a simple rule like this can help!
Remove the wheels
This is often the most straightforward part of the packing process. For road bikes, you will probably only need to remove the quick-release skewers or through-axles, depending on your bike model.
Bonus tip: If you have hydraulic disc brakes, and once the wheels are off, it’s best practice to put the bleed blocks into your brake pistons while in transit. This prevents them from accidentally closing up, or from any changes in pressure affecting your brake fluid.
If you're packing a mountain bike or a bike with wider tyres, be sure to deflate the tyres slightly to help them fit more easily into the box or bag.
Detach the handlebars
On your handlebars, evenly loosen the four faceplate stem bolts to release them, and then put the faceplate back on. Once loose, attaching your handlebars to your top tube (which has already got some pipe lagging foam on it - see below!) is a great packing hack. You may or may not need to remove the rest of the stem, depending on the size of your bike and box. If you're using a hard case, some bike boxes have specific compartments for handlebars, so it’s important to check how they fit.
Lower/remove the saddle and seat post
Before doing this, be sure to mark your seatpost height with some electrical tape. To minimize the size of the bike, lower your saddle as much as possible. This will help avoid potential damage and ensure the bike fits neatly inside your box. If lowering doesn’t suffice, you might need to remove the post entirely.
Bonus tip: Make sure to keep all your bike’s small parts stored in a small bag - think quick-release skewers, pedals, and bolts. Ideally this bag should be attached to the frame inside the bike box/bag. You don’t want to lose these crucial pieces when reassembling your bike later, and you don’t want them flying around your box during transit!
3. Protect the frame and components
While packing your bike, the most important thing to consider is protecting your bike’s frame and delicate components from any damage. Even with a high-quality bike box or bag, your bike can still suffer from scratches, dents, or other damage if not packed carefully. Here’s how to protect your bike during the packing process ...
Use foam and padding
Getting some pipe lagging/scaffolding foam, cutting this to the length of your bike's tubes, and labelling them, can be a cheap and efficient way of providing extra protection to your frame. Packing your clothes around your bike can also reduce your main luggage weight, as well as adding protection to your pride and joy!
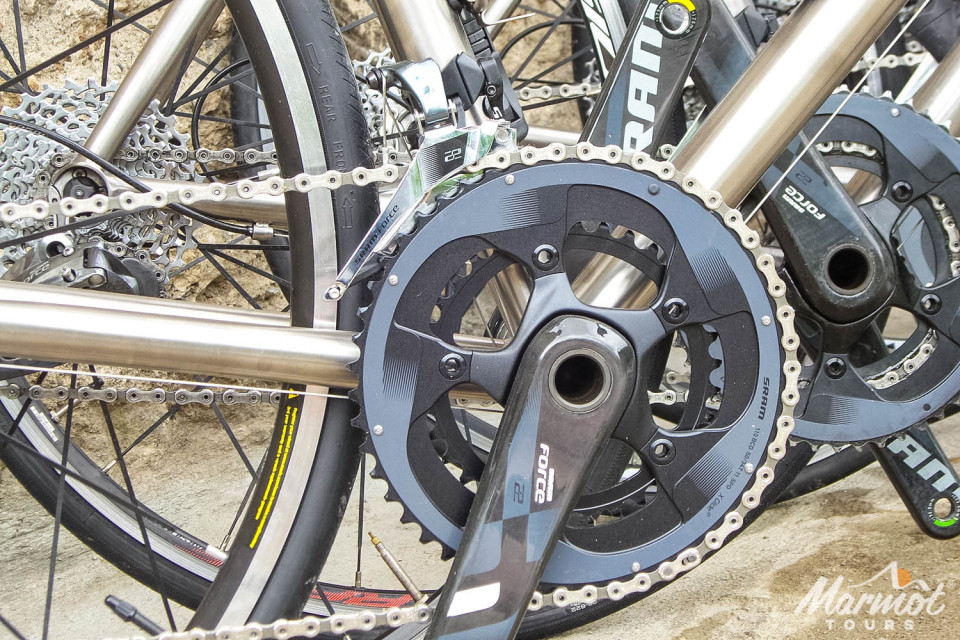
Protect the derailleur
The derailleur is one of the most fragile parts of the bike. It’s important to either remove the derailleur and pack it separately or to protect it with a plastic or cardboard cover. You can also use a foam block or piece of bubble wrap to shield it. If you can, I’d recommend removing it completely, along with its hanger (the piece that connects the derailleur to the frame). I'd also recommend bringing a spare hanger just in case you and your bike take a spill while you're on tour.
Wrap or remove the chain
Wrap it in a cloth or plastic bag to keep it from dirtying your other gear. A chainstay protector or foam tube can also prevent the chain from rubbing against the frame and causing damage. Zip-tie the chain to the chain stay if you're keeping it on. If taking it off, pop it in its own bag and add it to your growing bag of bits, with a spare quick link for your speed of chain (along with your pedals, spare hanger, spare brake pads, etc).
Bonus Tip: Some shops offer an assembly/disassembly service, will pack/unpack your bike for you, and even do a pre/post-packing bike service. Some also offer bike box/bag rental, which is the ultimate hassle-free option and means you don't have to worry about storing a box or bag at home.
4. Don’t forget your essentials
In addition to your bike and riding gear, make sure you pack a repair kit, including a couple of spare tubes, tyre levers, a pump, and a multitool. These are essential for any emergency repairs you may need to make while out on the road. If coming on holiday with us, remember to check the packing list by logging in to The Link for all our advice on what to bring with you on your cycling holiday.
Hydration and nutrition
Europe’s cycling routes - and our multi-day cycling tours - can be long and challenging, so packing hydration and nutrition is essential. Pop a couple of water bottles into your bottle cages and pack your energy bars or gels inside the empty bottles! If you're lucky enough to be going on holiday with us, we offer a variety of fruit, sweet treats, nuts and snacks from our amazingly well-equipped support vans; everything you need to keep you fuelled and supported on the road.
Conclusion
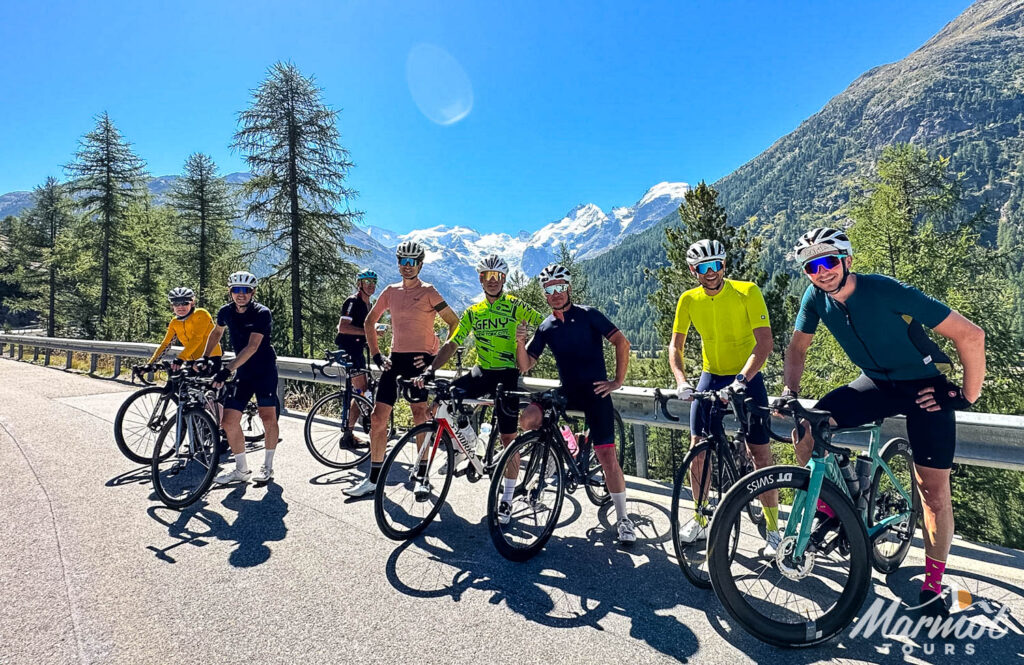
Packing and building your bike for a European cycling holiday doesn’t have to be stressful. By choosing the right bike box/bag, carefully disassembling your bike, protecting the frame and components, and following these tips for packing your gear, you’ll ensure your bike arrives in tip-top condition and ready to reassemble stress-free. Whether you’re tackling the climbs of the Tour de France or enjoying a leisurely ride through the countryside, the right packing and preparation will allow you to focus on the adventure ahead.
With these tips in hand, you can start your European cycling holiday with confidence and enjoy the freedom of exploring new landscapes by bike. Happy cycling!